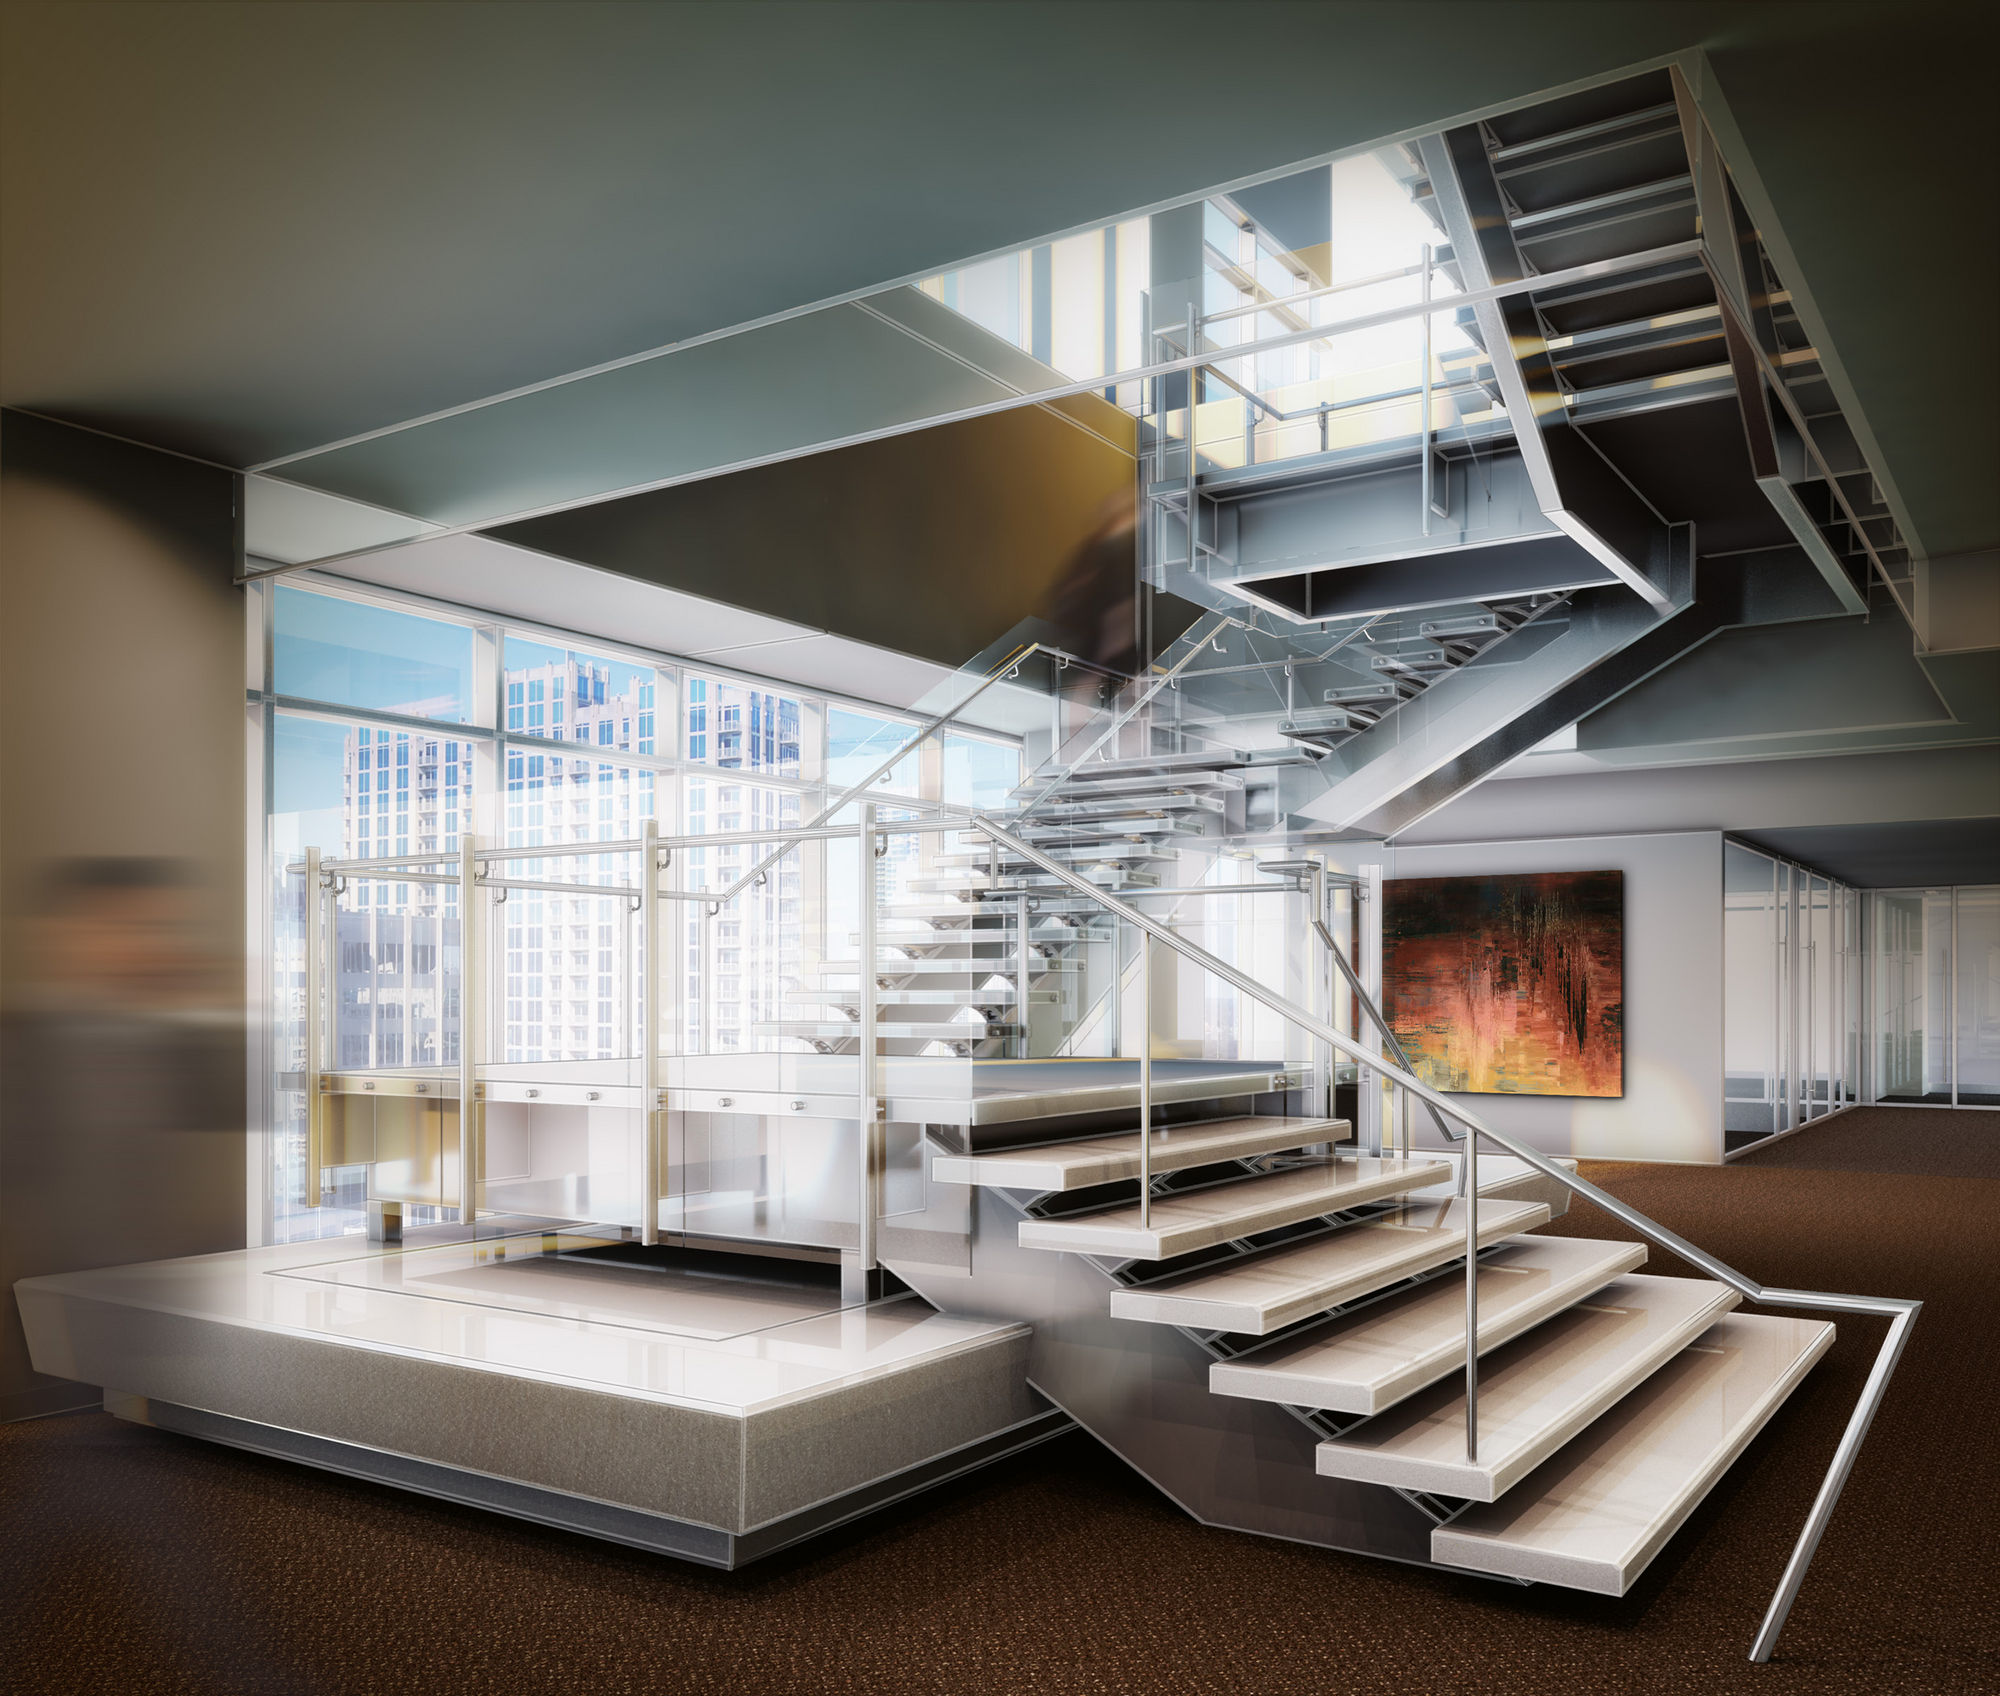


You will notice that I don’t vear too far from the default settings, but instead use settings that will provide the best ratio of fast rendering times and good outputs. Right out of the box, V-Ray generates nice renderings. The most important of these were simplicity and flexibility. I simply tried out a lot of different programs and found V-Ray was the best at meeting a lot of my needs. I have been using V-Ray for over a year now and I am in no way paid by V-Ray or affiliated with the company. A lot of you have been asking for V-Ray settings and so I am going to spend a little time going over the settings that I used to create the base rendering of the main street perspective in the previous post.


 0 kommentar(er)
